Having a teenager around means that having grab & go real food goods available makes for less standing in front of the wide open fridge door staring 🙄
While I don’t do a ton of baking, I do like to have some healthy snacks on-hand as often as possible. We are an active family and are often running out the door for a hike, bike, a climb, or a wind foiling session. When I can create recipes that I feel good about feeding my family AND that are also quick & easy to whip up, it’s just one less thing that I can not worry about, if just for a few days.
NOTE: If you don’t have oat flour, you can make it by popping oats into your food processor and blending until nice and smooth. You’ll need about 3 cups of oats for this recipe. The flour will work the same in the muffins, the texture may vary slightly.
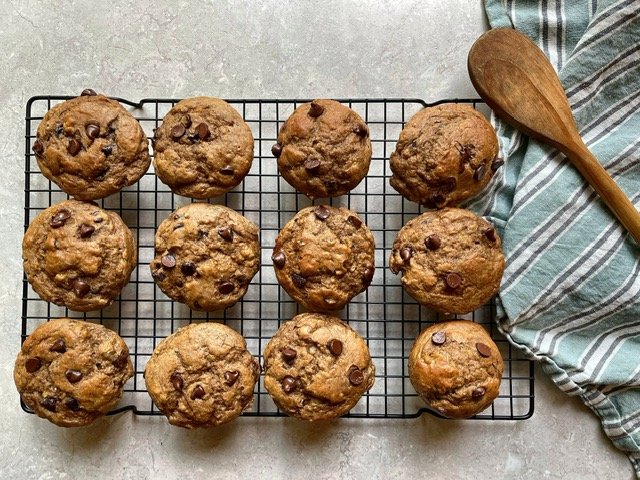
Simple Banana Oat Muffins

Makes 14 - 16 Regular Muffins
3 large bananas
1/4 cup applesauce
1/3 cup maple syrup
2 eggs
2 tsp vanilla
2 3/4 cups oat flour
1/4 tsp salt
1 tsp baking soda
1 tsp baking powder
2 tsp cinnamon
3/4 cup good quality chocolate chips
Optional Add Ins: chopped walnuts, raisins, or hemp hearts
Preheat the oven to 350F.
In a medium bowl, mash bananas with a fork. Add all other wet ingredients and whisk together until smooth.
Add in the flour, salt, baking soda & powder, and cinnamon, and stir until smooth. Stir in 1/2 cup of the chocolate chips.
Divide your batter amongst 14 - 16 lined, regular muffin cups. Top each muffin with a few of the remaining chocolate chips. Bake for 25 - 28 minutes, or until an inserted toothpick comes out clean.