Healthy Families

Green Goddess Hummus

If you are familiar with my recipes, you know that I’m a BIG fan of quick, easy, AND delicious combinations. This hummus is one of those.

Loaded with quality protein (white beans, sunflower seeds, tahini, hemp hearts), fats (sunflower seeds, tahini, olive oil, hemp hearts) and carbohydrates (beans, tahini, spinach, parsley), this blend of nutrient powerhouses will definitely meet your energy demands and give your tastebuds a happy dance at the same time!

A note on White Beans:

Easier on Digestion than Garbanzo Beans: while I’m also a big fan of chickpeas, the butter beans have a tendency to be a little easier on the digestive system and, for those who struggle with chickpeas 👋🏽, the butter bean is a great substitute (and also provides a nice, creamy texture).

Degenerative Disease Prevention: Both beans and legumes contain a reliable source of non-digested compounds like fiber, phenolics, peptides and phytochemicals that are associated with reduced risk of many degenerative diseases, namely cancer and heart disease.

Cardiovascular Support: The high fiber quotient and mineral makeup of beans have been associated with lowered blood cholesterol and blood pressure, making them an important staple for cardiovascular disease prevention.

Fiber Content: Both beans and legumes have a diverse fiber profile, supportive of healthy digestion, and providing the body with good satiation, which may encourage healthy weight.

Quality Plant Protein: Consuming a diet high in quality plant protein will help keep the body satiated, energized, nourish the muscles, the brain, and support good immune, hormone, and digestive function. All beans are wonderful sources of plant protein and should be mainstays in a healthy, balanced diet.

Green Goddess Hummus

Makes aprox. 2 cups
1 can butter beans
1/3 cup tahini
2 cups packed baby spinach
½ cup packed parsley
¼ cup sunflower seeds
¼ cup hemp hearts
2 cloves garlic, minced
2 Tbsp fresh lemon juice
¼ cup olive oil
1 tsp cumin
½ tsp coriander
1 tsp salt
Fresh pepper
1 tsp maple syrup

  • Place all ingredients in your food processor and combine until smooth.

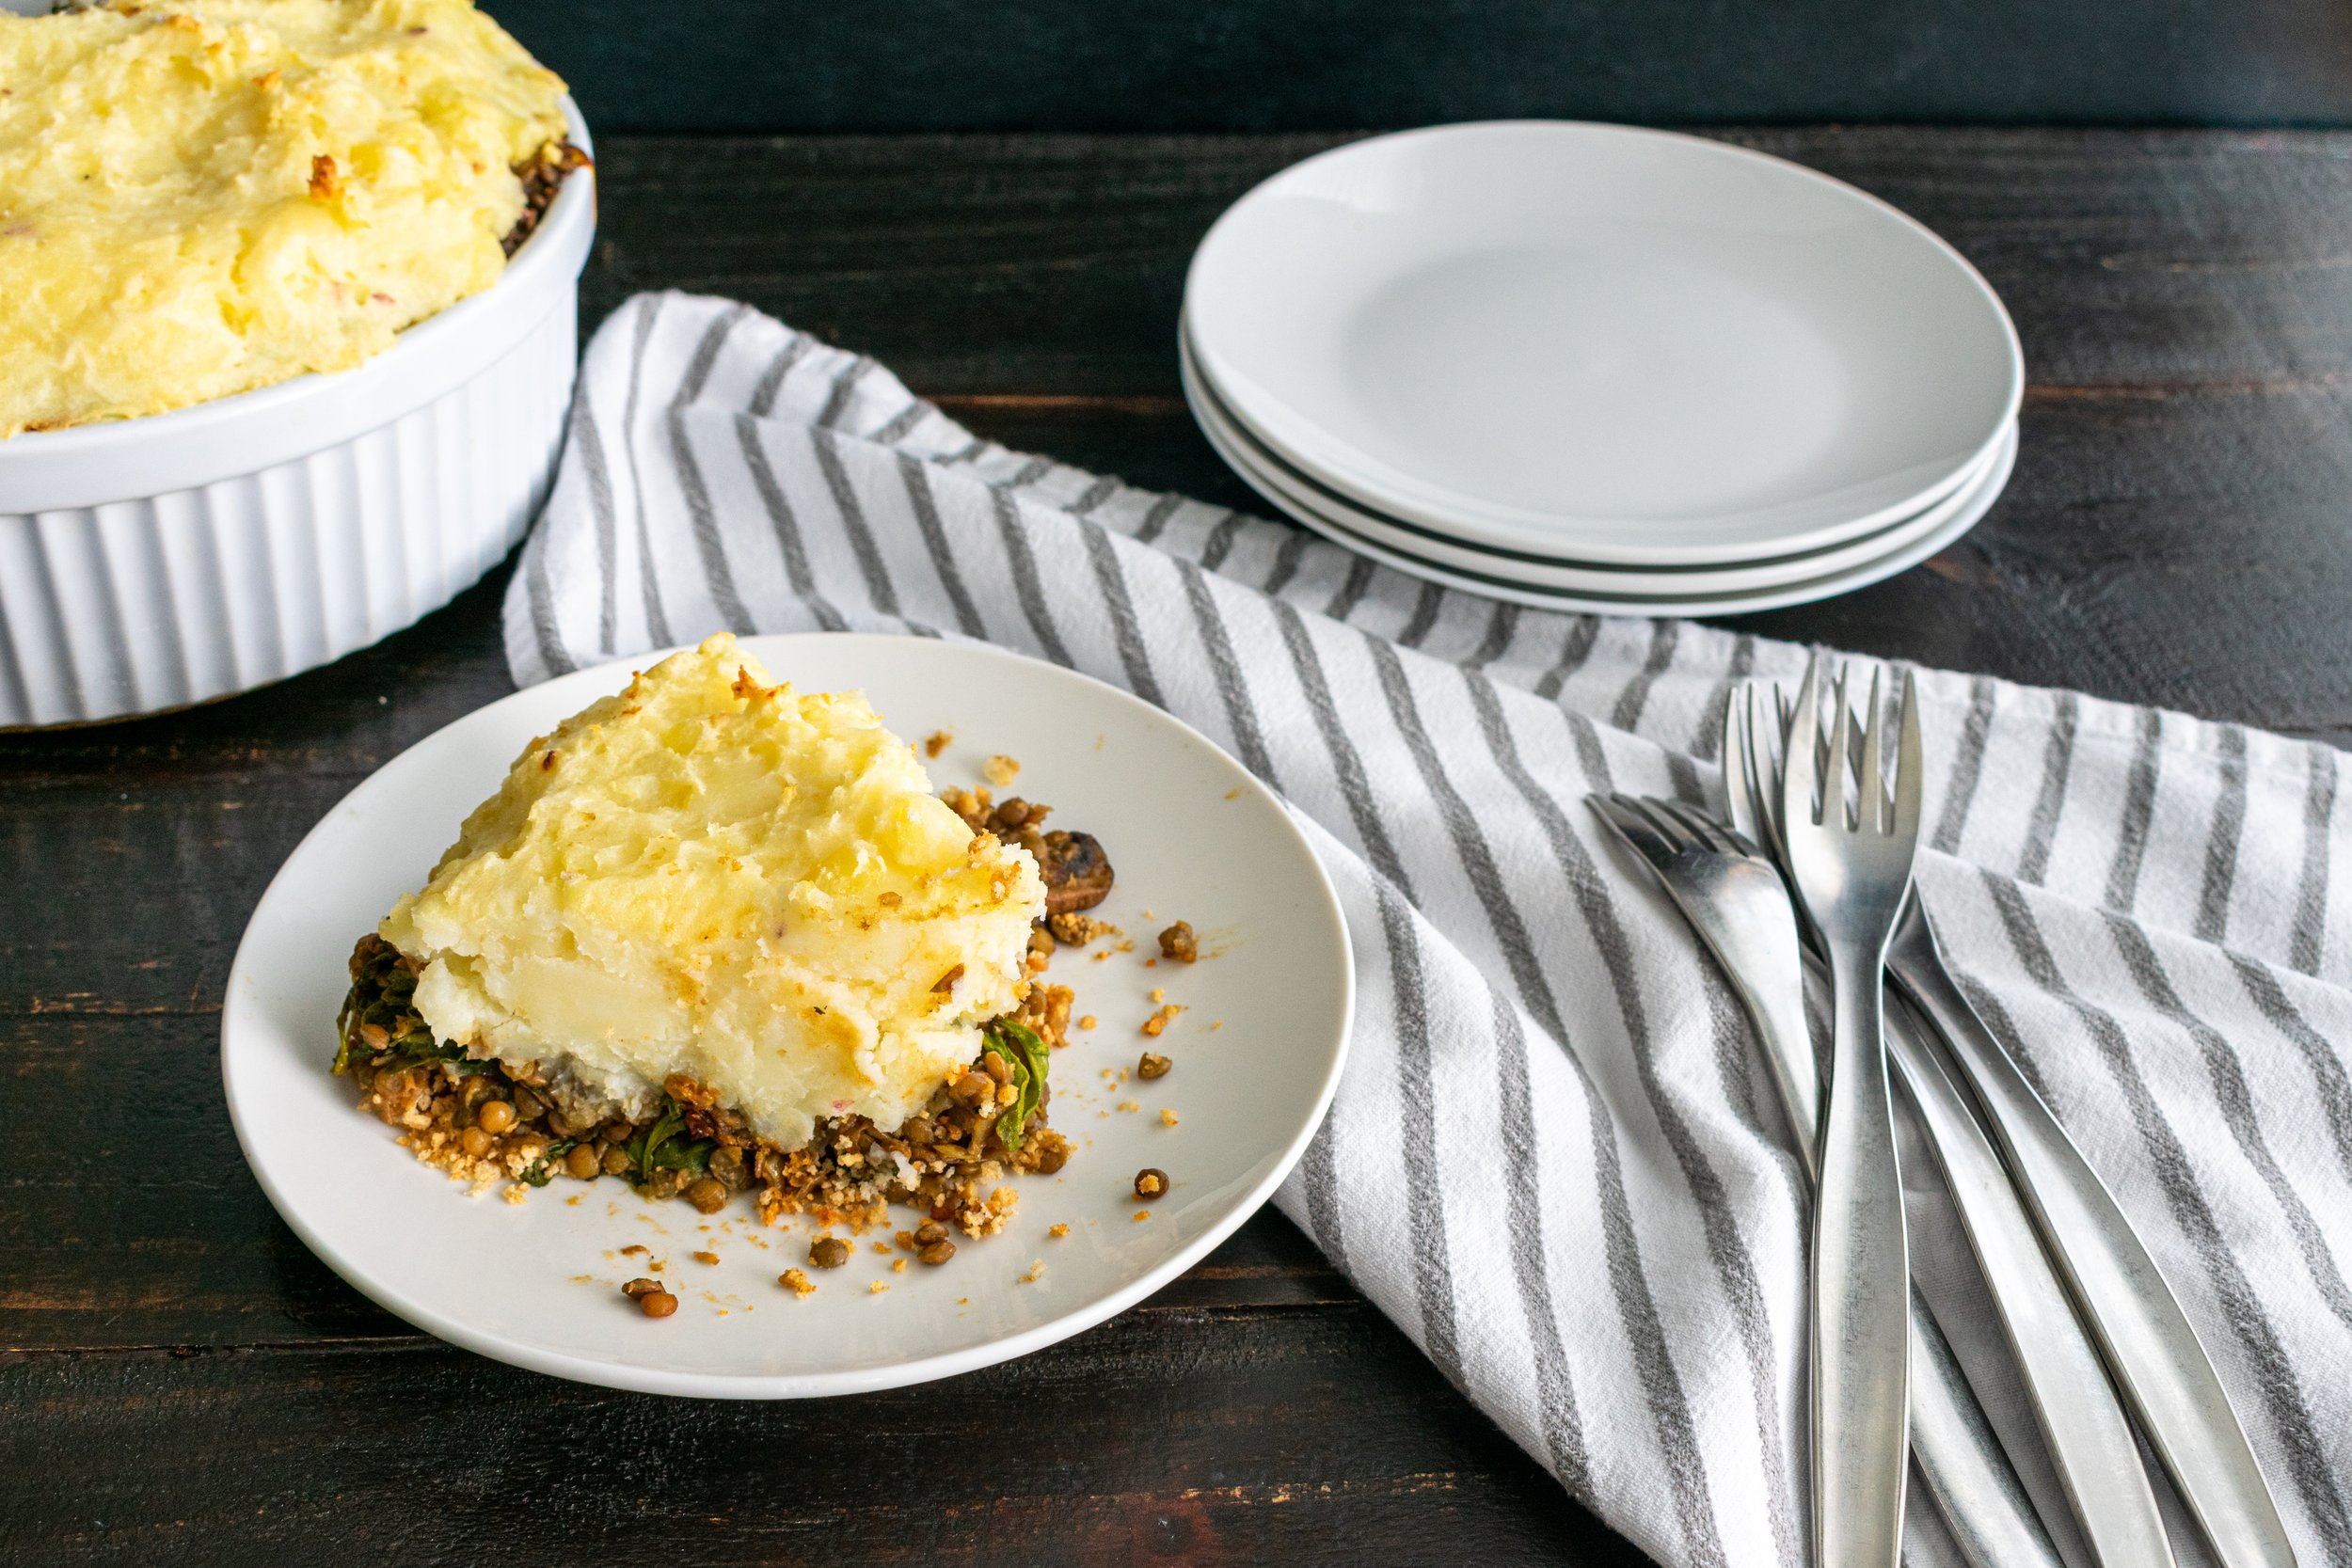
Vegan Lentil Shepherd's Pie

This is a powerfully delicious main meal that is sure to satisfy a crowd or your family several times over! This is a dish you can look forward to, feel good about, and is absolutely worth the steps it takes to pull it off!

One thing I’ve realized over the years is that meals that take a bit of effort are like a piece of art. They tend to be consumed in the same way: savoured, appreciated, and with an element of nurturing that just isn’t present with store bought meals or restaurant food.

Do not be deterred by the steps in this recipe! The entire thing will take you about an hour, there’s no way around that, so put on some music or your favourite binge-worthy show and sink in to the process of creating something beautiful AND nourishing!

We love to serve this Shepherd’s Pie with Homemade Ketchup! Once you make this ketchup once, you’ll realize how silly it is to buy ketchup that’s laced with chemicals and processed sugar. The ketchup will take you just a few minutes to put together, but will need to simmer for about 20 minutes, so plan to have that going at the same time as you make the Shepherd’s Pie 😊

Vegan Lentil Shepherd’s Pie

Makes 8 - 10 Servings
Filling:
2 Tbsp coconut oil
3 large yellow onions, diced
2 tsp salt
8 cloves garlic minced
1 Tbsp fresh thyme leaves, roughly chopped
1 Tbsp fresh rosemary leaves, roughly chopped
2 medium carrots, diced
2 ribs celery, diced
3 Tbsp tomato paste
1/2 cup dry red wine (or use vegetable stock)
1 cup dry French lentils, pre-cooked (yield aprox. 2.5 cups)
2 bay leaves + 1 “ kombu seaweed (add to cooking water with lentils then discard)
1 1/2 tsp paprika
1/4 cup smooth tahini
1 Tbsp tamari 
1 Tbsp  balsamic vinegar
2 tsp  Worcestershire sauce
Freshly cracked black pepper to taste

Potato-Cauliflower Mash:
3 medium potatoes, cut into 2” chunks
½ medium head of cauliflower, cut into 2” florets
2 heads of garlic, roasted
¼ cup vegan butter/cashew butter/regular butter
1/2 cup plant based milk (more if needed)
2 tsp salt
Lots of fresh pepper

  • In a large, heavy bottom skillet (I use a wok), heat oil and diced onions and sauté several minutes until beginning to soften. Add garlic, fresh herbs, and diced carrots & celery. Cook several minutes.

  • Hollow out a space among the vegetables in your pan and add tomato paste. Slowly stir into the onion mix. Pour in red wine, if using, and stir until dissolved.

  • Add cooked lentils and all other ingredients and cook several minutes until mixture looks well-combined and tahini is evenly distributed.

  • Pour lentil mix into the bottom of a 9 x 12 glass dish, spreading out evenly.

  • In a medium pot, bring salted water to a boil. Add potatoes & cauliflower and boil until fork tender. Transfer cooked vegetables to your food processor and add in all other Mash ingredients. Blend until smooth.

  • Top lentil base evenly with your potato-cauliflower mash.

  • Bake @ 375 for 25 – 30 minutes, or until top is lightly browned.


Simple Banana Oat Muffins

Having a teenager around means that having grab & go real food goods available makes for less standing in front of the wide open fridge door staring 🙄
While I don’t do a ton of baking, I do like to have some healthy snacks on-hand as often as possible. We are an active family and are often running out the door for a hike, bike, a climb, or a wind foiling session. When I can create recipes that I feel good about feeding my family AND that are also quick & easy to whip up, it’s just one less thing that I can not worry about, if just for a few days.

NOTE: If you don’t have oat flour, you can make it by popping oats into your food processor and blending until nice and smooth. You’ll need about 3 cups of oats for this recipe. The flour will work the same in the muffins, the texture may vary slightly.

Simple Banana Oat Muffins

Makes 14 - 16 Regular Muffins
3 large bananas
1/4 cup applesauce
1/3 cup maple syrup
2 eggs
2 tsp vanilla
2 3/4 cups oat flour
1/4 tsp salt
1 tsp baking soda
1 tsp baking powder
2 tsp cinnamon
3/4 cup good quality chocolate chips
Optional Add Ins: chopped walnuts, raisins, or hemp hearts

  • Preheat the oven to 350F.

  • In a medium bowl, mash bananas with a fork. Add all other wet ingredients and whisk together until smooth.

  • Add in the flour, salt, baking soda & powder, and cinnamon, and stir until smooth. Stir in 1/2 cup of the chocolate chips.

  • Divide your batter amongst 14 - 16 lined, regular muffin cups. Top each muffin with a few of the remaining chocolate chips. Bake for 25 - 28 minutes, or until an inserted toothpick comes out clean.

Easy Coconut Yogourt

Decadent and delicious in that thick & sour way that yogourt is, this recipe is guaranteed to be a win, can save money on those store bought variations that are not that good, and is also incredibly gut supportive.

I’ve been making my own coconut yogourt for quite some time now and have given this recipe out countless times to workshop participants and clients. Those non-dairy folk who make it regularly, find that it opens many doors, love the versatility, and are often surprised by how easy it is to keep up with. This is one of those staple recipes that turns out every single time and is incredibly reliable.
To remind you again: this is SUPER EASY!!

About Coconut Kefir/Yogourt

The term Kefir refers to a fermented milk beverage.  Traditionally made with dairy milk, coconut kefir is much thicker with the consistency of yogourt, slightly sour, including all the health boosting goodness of a probiotic rich food.

Health Benefits of Coconut Kefir/Yogourt:

Stops sugar cravings
Aids in digestion and reduces inflammation in the intestines
Liver cleansing
High in minerals (calcium, potassium, zinc, selenium)
Cleansing effect on the endocrine system (thyroid, adrenals, pituitary, ovaries)
Increases energy
High in good quality fat
Supportive for heart health

Easiest Coconut Kefir/Yogourt

1 can full fat organic coconut milk (best brands to use for this recipe: Thai Kitchen & Earth’s Choice - the Cha brand will curdle)

1 probiotic capsule (50 billion) - if you have a probiotic with a lesser strain count, add as many as you need to make a 50 billion total

  • In your blender, blend the coconut milk can contents until smooth - don’t skip this.

  • Open the contents of your probiotic capsule (s) into a sterilized glass jar. Pour the blended coconut milk over the probiotic bacteria and stir with a non-metallic spoon or spatula until well-combined. Fasten your lid on loosely.

  • Place your jar on the counter to ferment for 24 - 48 hours (not in direct sunlight). You’ll know your yogourt has fermented long enough when there are tiny little bubbles in the top layer and it smells a little sour. You can also taste it with a non-metallic spoon to see if it has that desired sourness. Mine always takes 2 days.

  • Once the fermenting process is finished, transfer the yogourt to the fridge. It will thicken once refrigerated, so don’t worry if it seems runny.

  • Your coconut yogourt will keep refrigerated for 5 - 7 days.

My Favourite Ways to Include Coconut Yogourt in the Diet:

✓ In Smoothies
✓ Topped with fresh or frozen fruit, a drizzle of maple syrup, & chopped nuts & seeds
✓ As is
✓ With 2 Tbsp of ground flaxseeds to support hormonal health & balance, and for hormone detoxification
✓ In creamy popsicle filling
✓ As a base for creamy sauces: tzatziki, herbed dressings/dips, in avocado lime crema

ENJOY!
If you make this Coconut Yogourt, please leave me a comment and let me know how it went! ♡

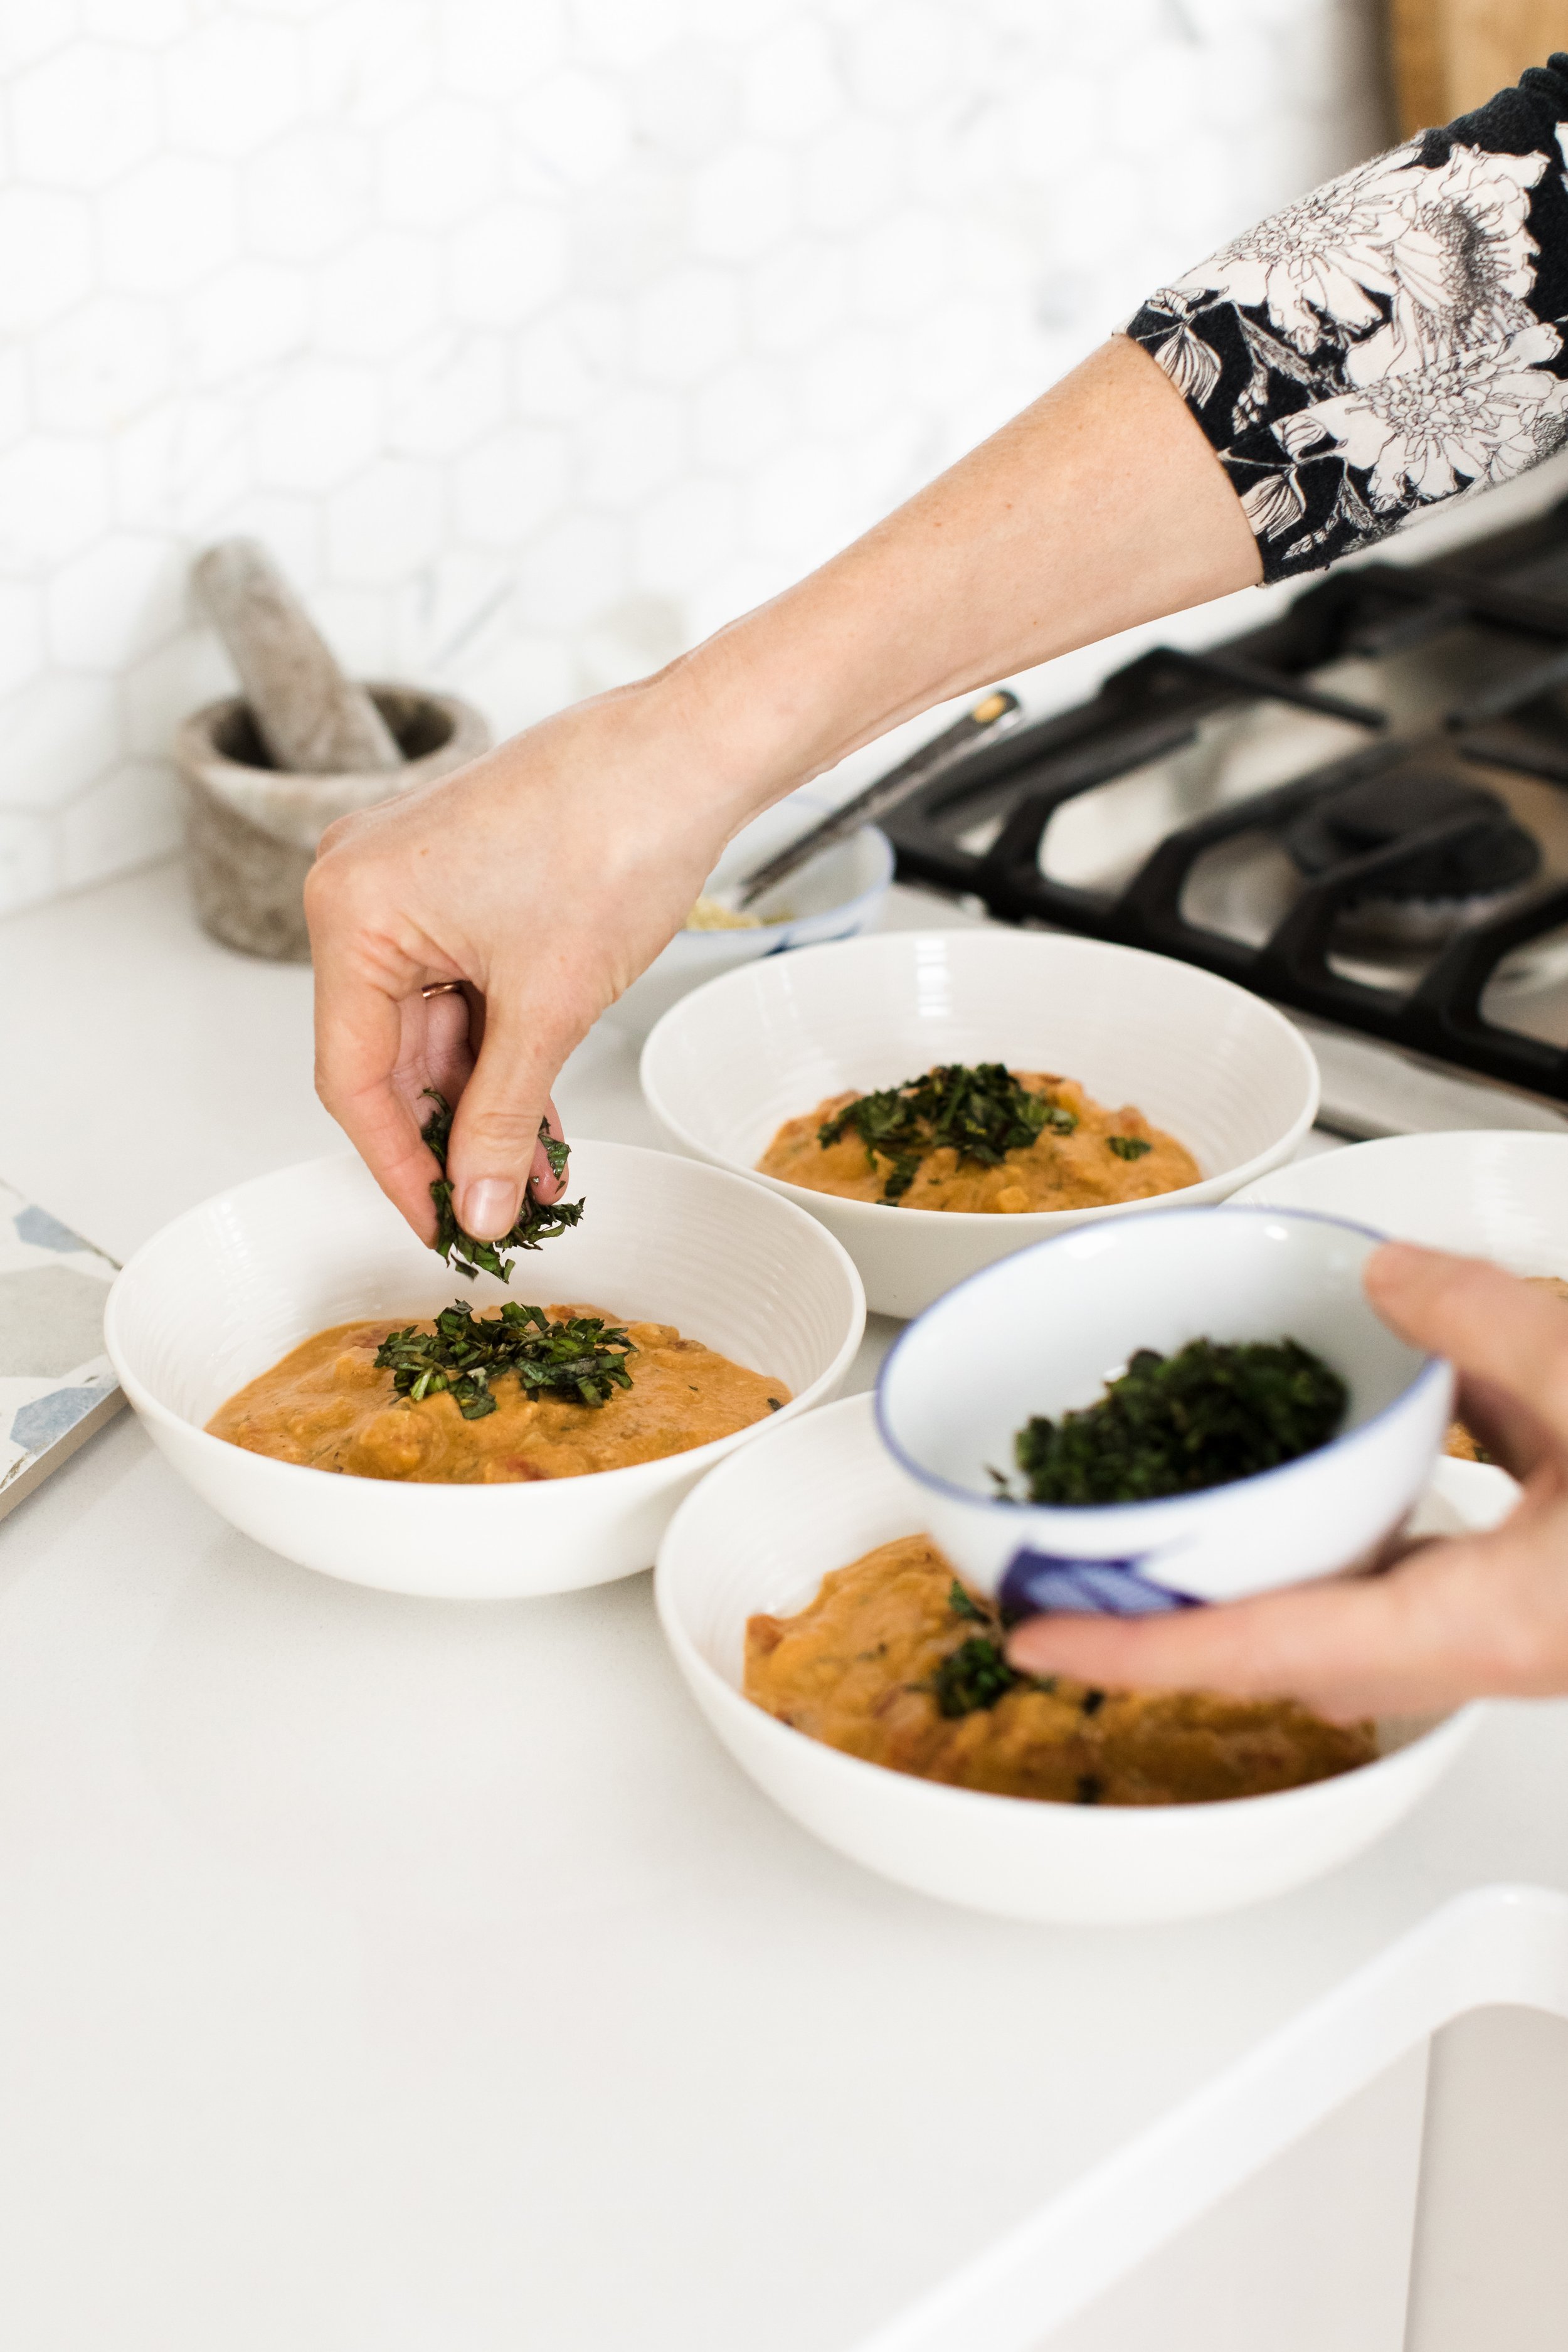
Creamy Roasted Tomato-Garlic Soup

Who doesn’t drool over an enticing bowl of rich & creamy Tomato Soup?

Simply put, this soup is INCREDIBLE!! With deep flavours and creamy texture, this is a soup the entire family will love and you’ll be asked to make again and again. We’ve made this dreamy soup in my Batch Cooking class and the participants loved it so much, some were making it again the very next day!

Yes, this soup is totally VEGAN, but….and….is missing absolutely nothing! I like to top it off with some pumpkin seed parmesan and a little sprinkle of fresh basil, but she holds her own just the way she is!

Do NOT skip the roasted tomato & garlic step of this soup, that’s what makes it so rich and deep with flavours.

Make this soup ASAP, trust me, it will warm your soul and make you feel good inside and out!

Creamy Roasted Tomato-Garlic Soup

6 medium tomatoes
1 large head of garlic
2 Tbsp avocado oil
½ tsp salt
Fresh pepper
1 large onion, diced
2 Tbsp coconut oil
3-4 cloves garlic, minced
1 ½ tsp salt
½ tsp oregano
½ tsp thyme
Lots of fresh pepper
1 – 28oz can diced tomatoes (fire roasted are best)
½ cup cashews, soaked overnight & drained
2 cups vegetable broth
1/3 – ½ cup fresh basil

  • Preheat your oven to 375F. Half tomatoes and separate cloves of garlic, leaving the peel on. Toss with avocado oil and season with salt & pepper and spread out on a large glass dish or a roasting pan. Roast for 35 – 45 minutes or until fragrant and lightly browning around the edges. Set aside to cool.

  • In a large soup pot, heat onion and coconut oil over medium heat. Once onions are soft, add garlic and seasonings and sauté several minutes until fragrant. Add your can of diced tomatoes and reduce heat to a simmer.

  • In your blender, place your roasted tomatoes and peeled garlic, drained cashews, and vegetable broth and blend until smooth. Pour over your onion and tomato mix in your pot and heat at a low simmer for 10 – 20 minutes. Add in fresh basil and adjust seasonings as needed.

Enjoy the goodness of this creamy soup and feel good in your soul ♥︎

Coconut Cherry Lime Popsicles

If you’re looking for a quick and easy, but incredibly yummy summer popsicle, here is a sweet & sour, fun-in-your-mouth, heat busting blast of deliciousness!!
Yes, they’re that good 😉

Popsicles are a great way to dose your kids up with some high quality nutrients and also offers a fun summer treat, which all kids love. Homemade versions definitely surpass any of the store bought, chemical-laden, generic pops out there with flying colours, and are just so easy, it’s silly not to have some on hand all summer long!

You can whip these up just the way they are, OR go the distance and add in a few layers…

Rainbow Popsicles.jpeg


Here I added a mango & spinach lime layer to mix things up and make rainbow pops (haha and look, those old points collecting sticks were actually from my childhood!). Yum!

But these cherry lime delights are just perfectly beautiful AND delicious just the way they are (just like you 😉).
Happy summer vibes!

Coconut Cherry Lime Popsicles

Cherry popsicles.jpeg

Makes 8-10 Large Popsicles
2 cups frozen cherries
1 can full fat coconut milk
Juice of 1-2 limes
2-3 Tbsp maple syrup
1/2 cup coconut water
Small pinch of salt

  • Blend all ingredients in your blender and distribute evenly among Popsicle molds. Allow to harden in the freezer for at least 4 hours.

Morning Apple Cinnamon Oatmeal

Apple Oatmeal 2.jpg

Need something new on your breakfast rotation?
I’ve been making this oatmeal for my family quite a long time and it feels like the right time to share it with you!

This recipe is super easy, uses ingredients you’ll likely have on hand, and is a very nourishing and delightful breakfast that all family members love. Stewing the apple chunks first is really what sets this oatmeal apart, so be sure to leave a bit of time to let the apples cook through until softened before adding in the oats. Once the oatmeal has cooked, don’t skip adding in those protein & beneficial fat-packed hemp hearts & chia seeds, and any additional nuts, seeds, ground flax, or fresh fruit you choose. These add ons push this simple meal into a more satiating and blood sugar balancing department to get everyone through a good morning feeling balanced, energised, and focused!

Happy Breakfast Making!

Looking for more Breakfast Tips? Read about Conquering the Breakfast Scramble here!

Morning Apple Cinnamon Oatmeal

Apple Oats.jpg

Serves 2
Cook time: 20 minutes
2 medium apples, peeled, cored and cubed
2 Tbsp coconut oil
1/4 tsp salt
1 tsp cinnamon
2/3 cup rolled oats
3/4 cup almond milk
1/4 cup water
1 tsp vanilla
2 Tbsp hemp hearts
2 Tbsp chia seeds
1/4 cup raisins
1 Tbsp maple syrup
Coconut kefir or yogourt or milk for serving
Optional add ins: ground flax, chopped nuts or seeds, fresh fruit

  • In a small sauce pan, warm apple chunks and coconut oil over a medium heat. Once hot, add salt and cinnamon and continue to cook, stirring often, until apple is softened (this will take a few minutes, approx: 7-10). Add oats and stir, toasting them slightly (about 2-3 minutes). Add milk and water and bring to an active simmer, stirring occasionally, until all the liquid is mostly absorbed (about 10 minutes). Remove from heat.

  • Stir in vanilla, hemp heart, raisins, and maple syrup. Serve with coconut kefir/yogourt, or with a drizzle of almond milk over top and any add ins your lovely sleepy head desires.

    If you make this oatmeal, please let me know how much you love it or what you did differently to make it your own! AND be sure to sign up for my Newsletter and don’t ever miss a new recipe or a new class offering ♥️